Radius of the circle enclosing an intersection’s conflict zone
New. OSM has no way to state how far a junction’s conflict area extends,
so its size is left to whatever a consumer guesses from geometry.
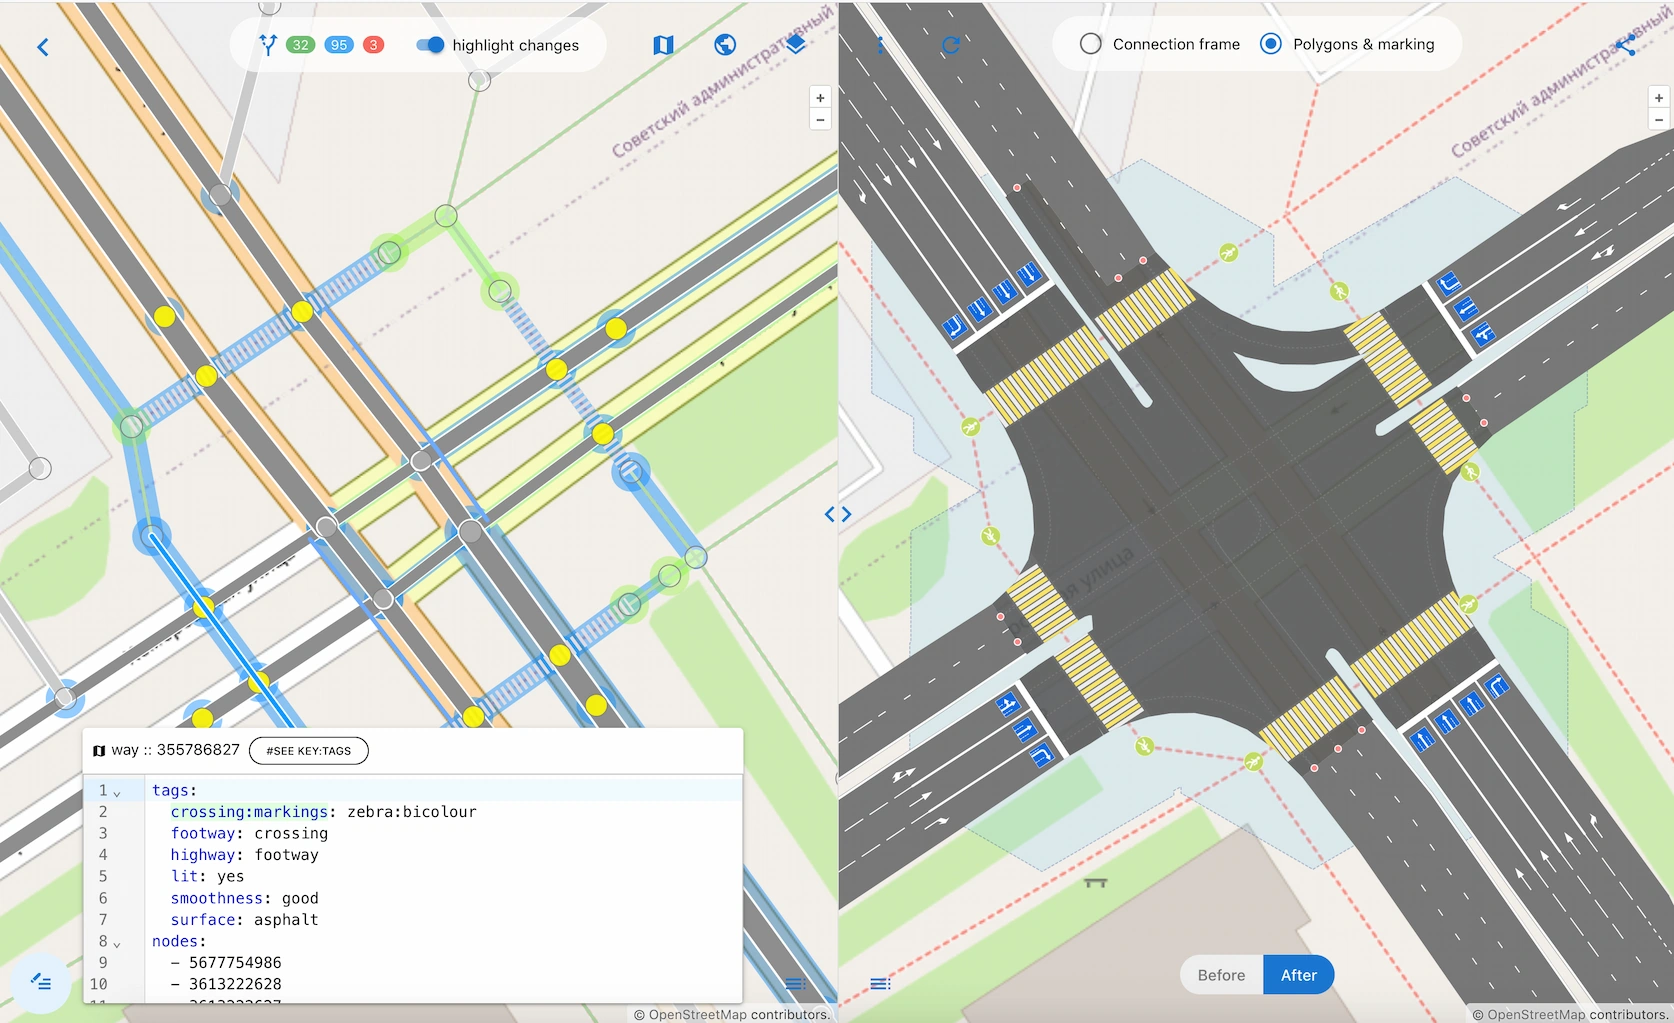
A conflict zone is the part of an intersection where nobody may stand. It is the
area that has to be left clear, that a driver must not enter unless they can
leave it, and that a pedestrian steps into at their own risk — because it is
exactly where the paths of everyone crossing the intersection meet. Draw every
maneuver a driver, rider, or pedestrian can make through the node, and the
conflict zone is the shape holding all of their crossing points. Outside it, no
two paths conflict.
junction:radius gives the radius, in meters, of the circle that
this shape is inscribed in, centered on the intersection node itself. One number
on the node covers all lanes.
With the radius set right, the circle lands where the intersection really
begins: stop lines and other entry points sit on it. Set it too small and the
circle no longer contains the crossing points — 4 m on an intersection of wide
multilane roads leaves maneuvers conflicting outside it, and the description is
simply wrong. Neighboring nodes within the radius pull the zone out of round,
since they constrain the possible maneuvers. Where lanes need to enter at
different depths, junction:radius:lanes overrides the node value
lane by lane, with forward/backward and start/end suffixes selecting side and
approach direction.
A lane-by-lane model of an intersection needs to know where each lane stops and
where the shared crossing area starts, and the radius is what fixes that
boundary.